We Offer Revolution Of oil exploration
- Home
- Service Type
Service Type

MFL Inspection
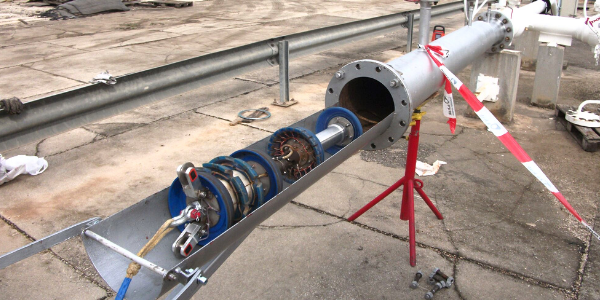
The “classic” ILI principle introduced back in the 1980s today provides the majority of all pipeline inspections globally. Originally a qualitative locator of metal loss it has developed over the decades to an accurate and reliable inspection system that delivers high-resolution quantitative and accurate integrity data.
Today the MFL fleet offers tools of unique design among the most appreciated by the market. Without the need of a specific coupling medium, MFL records metal loss down to pinhole dimensions on the internal and external surface of the pipeline.
The MFL technique can handle all ferritic steel pipelines. The principle is not affected by the pipeline product and, therefore, the operation of the pipeline is usually not affected. The tools can be used in liquids, multi-phase products and gaseous environments.
0%
Quality
Quality starts with precise inspection.
0%
Safety
Safety begins with strong welds.
Did you like this Work? Please Share
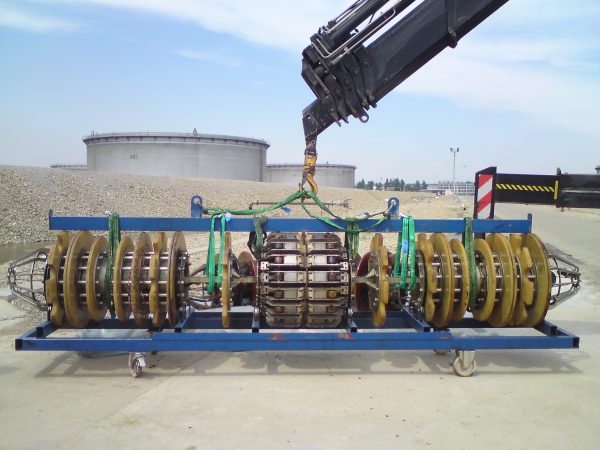
Lifting Equipment Inspection
Regular inspections ensure compliance with safety standards and extend the lifespan of lifting devices.
By evaluating structural integrity and performance, inspections help minimize risks in lifting operations.
0%
safety
Safety begins with inspection
0%
lifts
Strong lifts require thorough checks
Lifting equipment inspection guarantees safe and efficient operations by identifying potential hazards and defects.

Did you like this Work? Please Share

GEO Inspection
Measuring the roundness of a pipeline is a common application of in-line inspection. Such tools take continuous readings while travelling through the line to find any out-of-roundness features.
Global business’ fleet of GEO tools are fully developed ILI systems that deliver high-resolution data. The dimensions of deformations that are reported are significantly below integrity concern so that operators can plan at an early stage and take preventive action, if necessary.
The Physical Background of GEO Inspection
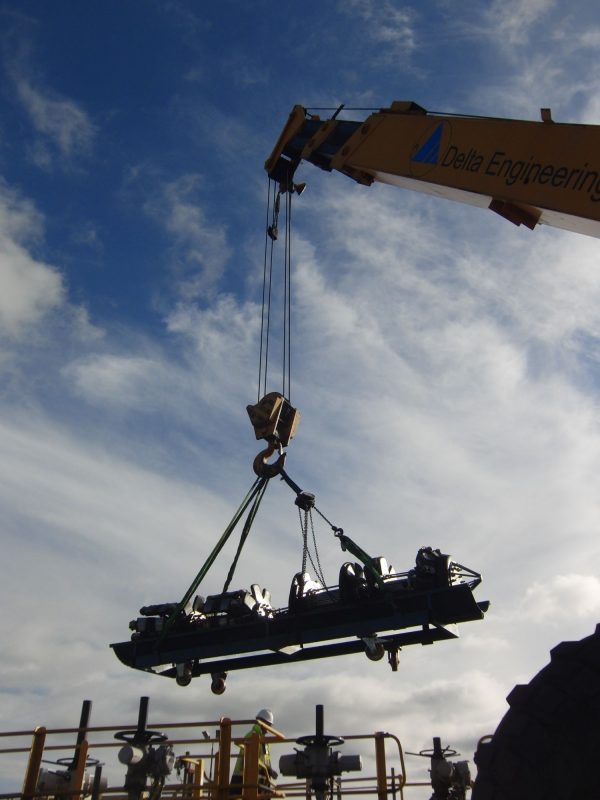
Global business’ GEO tools take mechanical measurements of geometric information at the pipe wall by means of arms or fingers (generally with wheels) and alternatively with segmented cups. The information is processed and stored on board in the tool’s electronic systems.
A GEO inspection delivers continuous multi-channel data detailing internal geometry and associated information of the pipeline. Comparable to metal-loss ILI data, Global business GEO data show length, width, shape, and depth of penetration (for example, a dent) together with the exact location. In many cases, the highly detailed GEO data allow our clients to forecast the origin of the deformation even before excavation investigation.
0%
Quality
Quality starts with precise inspection.
0%
Safety
Safety begins with strong welds.

Did you like this Work? Please Share
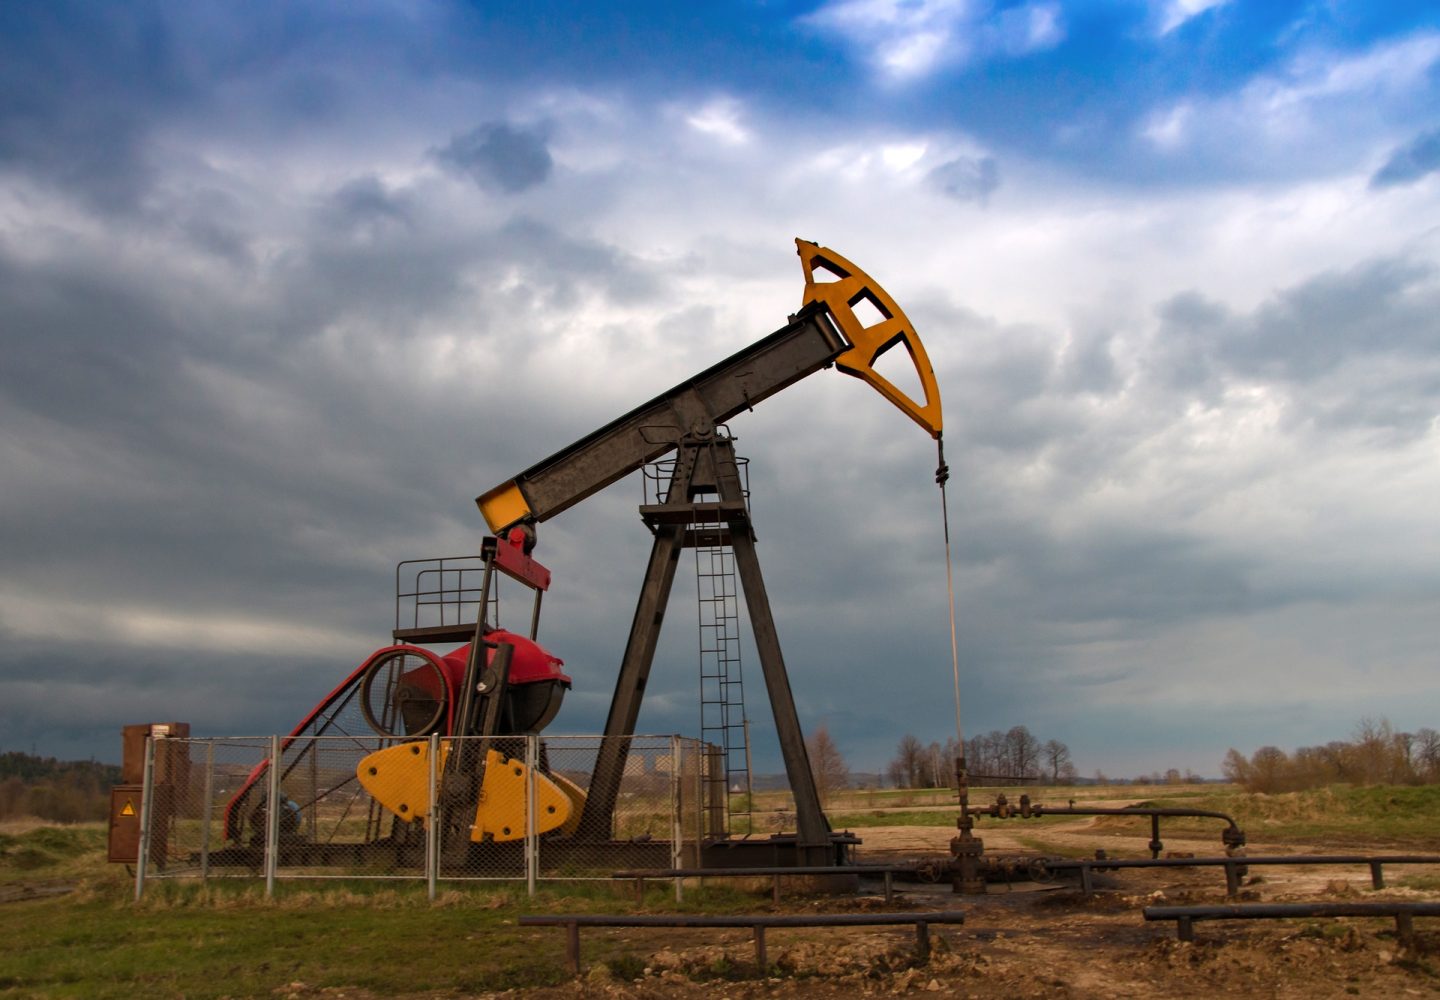
Drilling Equipment & Piping Inspection
Regular inspections help detect wear, corrosion, and damage, ensuring safety and compliance with industry standards.
Thorough piping and drilling equipment checks are vital for maintaining operational efficiency and avoiding costly failures.
0%
safety
Precision ensures safety.
0%
performance
Inspection drives performance.
Drilling equipment and piping inspections ensure optimal performance and prevent downtime in critical operations.
Did you like this Work? Please Share
API & Integrity Inspection
By adhering to API standards, inspections help maintain operational efficiency and extend asset lifespan.
Integrity inspections focus on detecting early signs of degradation to ensure compliance and safety in critical systems.
0%
Integrity
Integrity ensures longevity.
0%
Standards
Standards drive reliability.
API and integrity inspections ensure the reliability and safety of equipment, preventing failures and minimizing risks.

Did you like this Work? Please Share

SRD Inspection
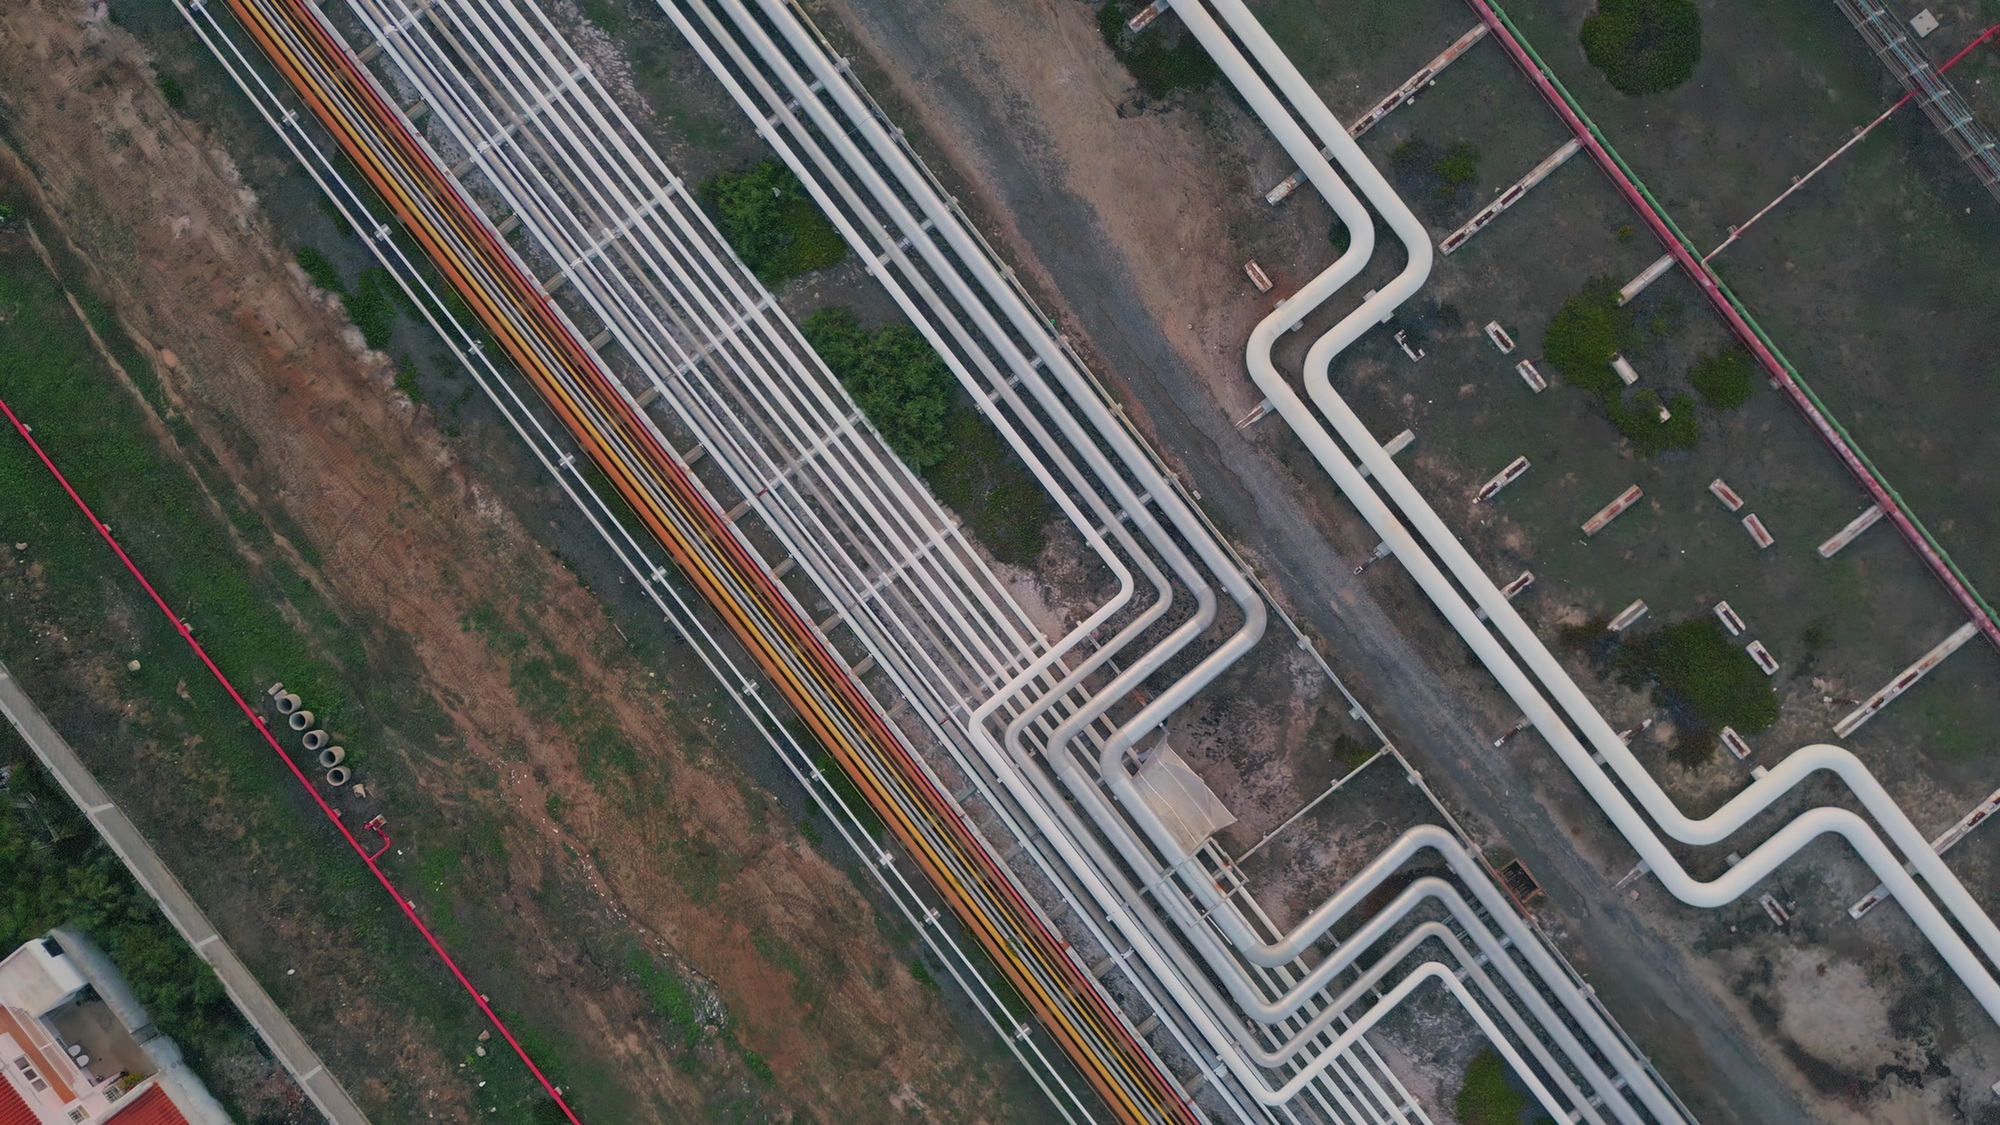
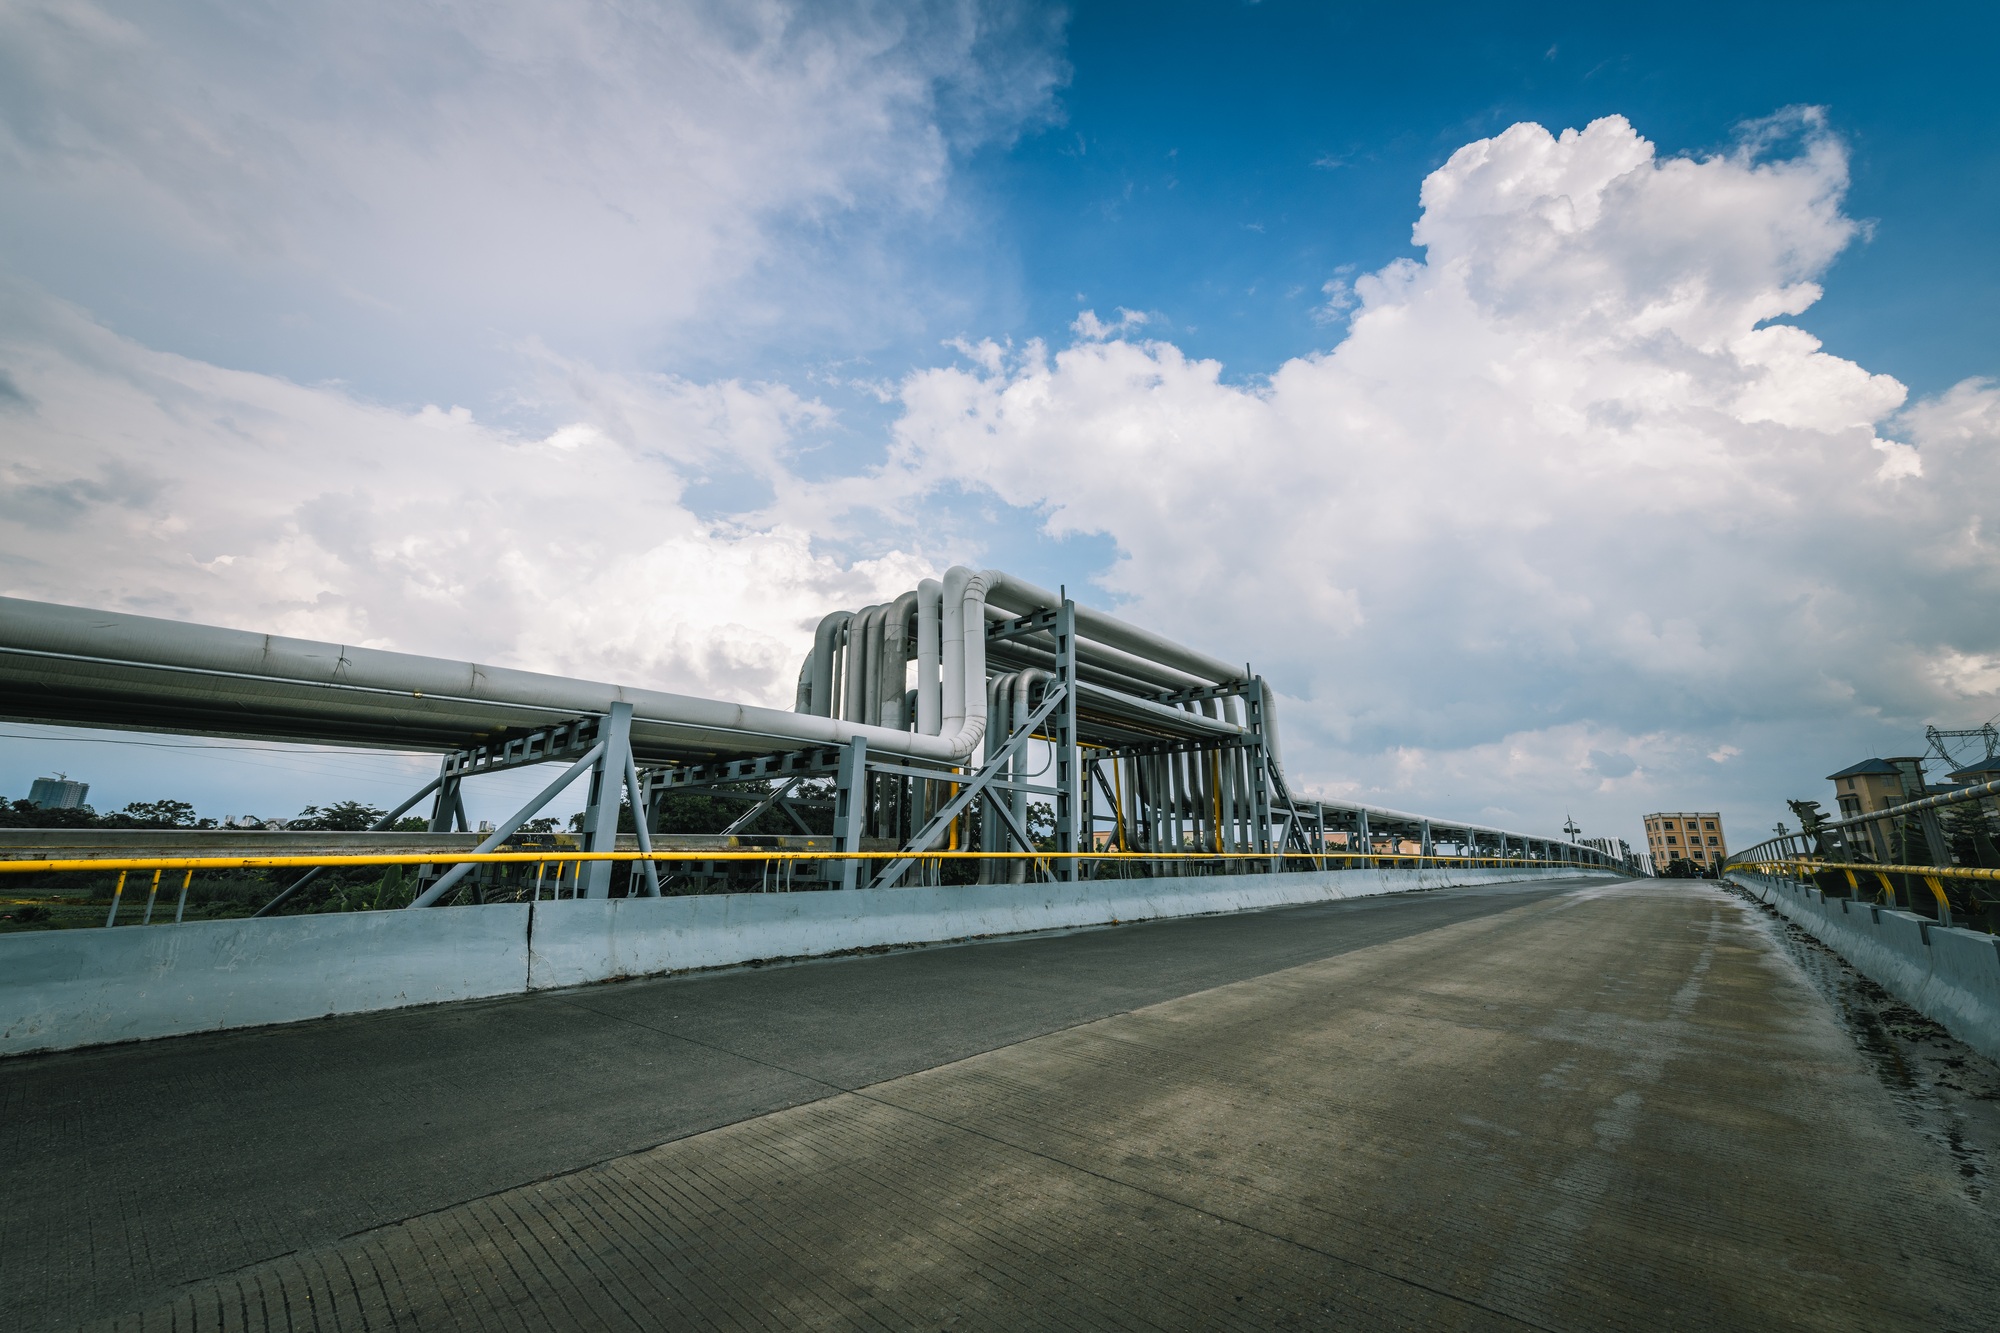
The Physical Background of SRD Inspection
The principle works on the interaction of a small permanent magnet and the change in its magnetic field if a ferritic body enters its vicinity. Though magnets are used here as well, the SRD has nothing else in common with MFL. While MFL requires massive magnets to achieve saturation within the entire pipe wall, the SRD works on a saturation level close to zero.
Individual SRD sensors are arrayed in groups of 8, embedded in a single sensor carrier, which is guided by an arm and distance controlled by wheels along the inner pipe surface.
Extended Version SRD/GEO
This combo system has proven to be very helpful—not only because it simply combines the SRD and GEO capabilities, but also due to its efficiency in specific inspection scenarios.
In situations where smooth general metal loss is present, the SRD sensor carrier arms will follow the (corroded) physical inner surface, leaving the measurement of the depth of the general metal loss to GEO sensors located in the foot of the SRD sensor carrier arm. SRD will then continue to search for pits and pinholes.
The total depth of internal metal loss results from the combined measurements: depth (GEO) plus depth (SRD).
0%
Quality
Quality starts with precise inspection.
0%
Safety
Safety begins with strong welds.
Did you like this Work? Please Share
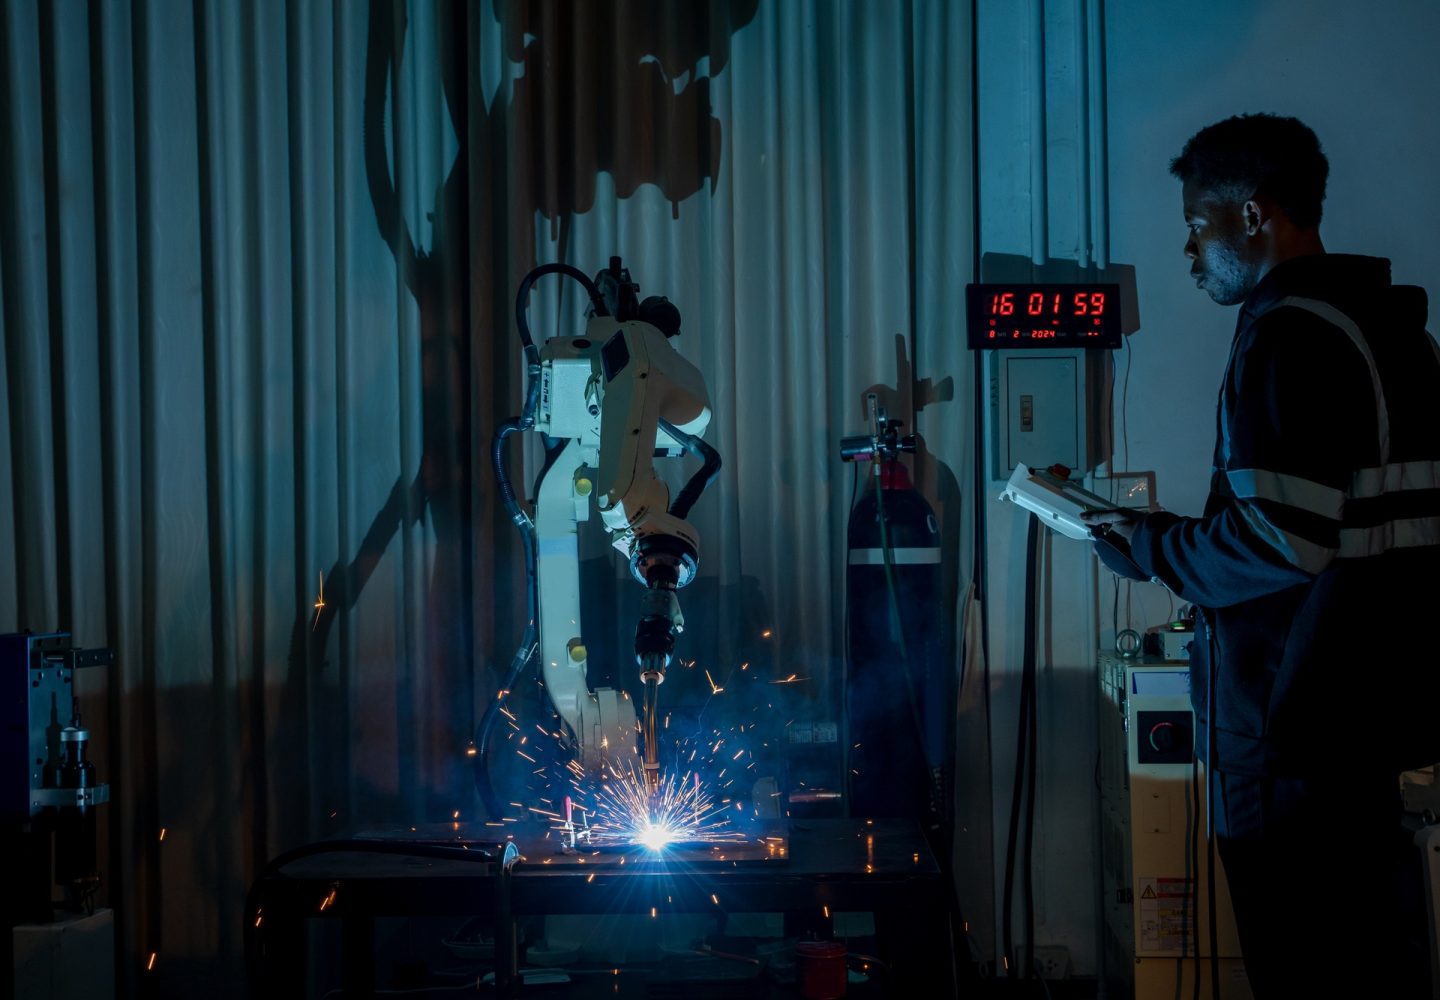
Welding Inspection
Advanced non-destructive testing techniques are used to detect hidden flaws and meet the highest quality standards.
Adhering to international standards is key to achieving quality and safety in welding operations.
0%
Quality
Quality starts with precise inspection.
0%
Safety
Safety begins with strong welds.
Welding inspection ensures the safety and strength of joints to achieve optimal performance in industrial and engineering projects.
Did you like this Work? Please Share
Office
Libya - Tripoli || ليبيا -طرابلس
Support
info@mqyas.ly
Make an Appointment
Getting an accurate diagnosis can be one of the most impactful experiences that you can have.
More Information
(+218) 9100-86777
Copyright © 2025 Mqyas Al-Daqqa By Mgklash.
